Tuesday, June 4, 2013

Framed Wedding Ring Holder


This week is a simple tutorial. One of my bestest friends got married in February and she found this beaded frame that she liked that holds your wedding ring so you won't lose it when you have to take it off. She sent it to me probably in January and asked if I could make one for her and I have finally found the perfect frame for it. (Thanks to Hobby Lobby being closed on Sundays, I had to go to Michael's and there it was!)


Materials:

Frame
Tiny Glass Beads
Foam Board
Scraps of Material
Glue Gun
Modge Podge
Sponge Brush
Pin


The frame I used, I got at Michael's. It's an open (no back) laser cut wooden frame. You can find it on the wood aisle. Use your glue gun and only doing a little at a time so the glue doesn't dry, squirt some on evenly and immediately sprinkle some beads over it to cover all the glue you put down. Doing this on a paper plate works best so all the extra beads don't fly all over the place. Press the beads down and shake the excess off. Anything that covers the holes, I moved around or loosened them off the frame with tweezers. Do this all over your frame until everything is covered in beads.


Once all the glue is dry, get a sponge brush and your Modge Podge out and put a thin layer all over your beads. This will help hold all the beads on since the glue gun glue is no Gorilla Glue. If you think it's needed, put another layer of Modge Podge down. Confession: I haven't put any Modge Podge on mine yet since I accidentally poured black glitter into it! Whoopsies!

While your Modge Podge is drying, measure out how big your foam board needs to be. Make sure there's enough around the edge to glue to the back of your frame. Once cut out, measure your material out. Make sure your piece of fabric is big enough that it will stretch to the back of your foam board to glue it on. I used burlap since my girl's wedding had burlap in the decor. Put your foam core board in the center of your fabric and stretch it around and hot glue the ends to the back of your foam board. As long as the Modge Podge is dry, flip your frame over and hot glue your foam core board to the back of your frame.


Now, put your pin in that will hold your ring. I just used a sewing pin, but one of the fancy ones. It can be a bit tricky, I had a few trial and errors. Once you find where you want the pin to be, push it into your foam core board but not too much and force it down towards the bottom of your frame so it's not sticking out the back. It doesn't have to be too deep, as long as it's secure. You should have enough of your pin sticking out that you can bend the pin forward slightly so you can get your ring on there comfortably but it won't fall off. Once your pin is on, you have a fancy lil' ring holder for your wedding ring! You can either hang it where it would be most convenient, or get one of those cute little easel type frame holders.


Hope you enjoyed this simple tutorial! Check back next week, I think I'm wanting to make a form fitting color blocked dress. Hopefully the little Love Bug will let me! Have a fantastic week!


Thursday, May 30, 2013

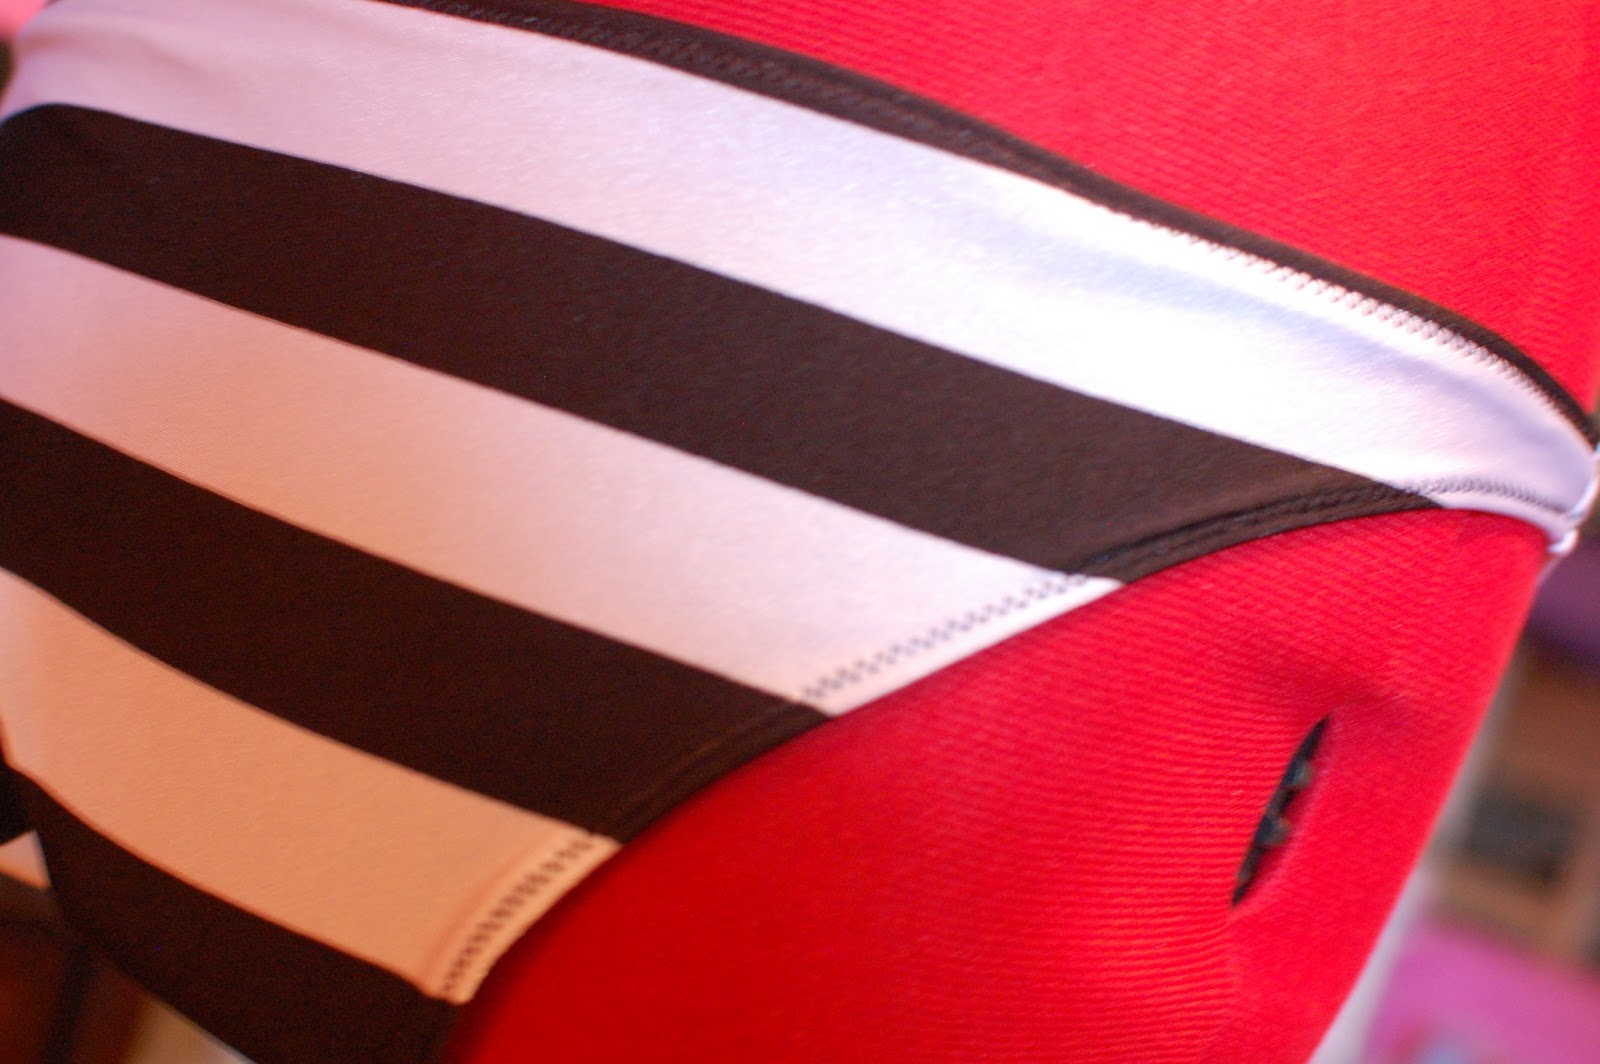
Twisted Bandeau Bikini


It's now "unofficially" Summer! Even though my "bikini body" might not be in tip top shape, it's time to make some swimsuits! For Memorial Day weekend, we got to go up to Hot Springs, Arkansas and hang out with the family on the lake. If you have never been there, it's a must! Everything up there is so beautiful, the people are so nice and you'll never want to leave. While we were up there, our big love bug (my step-daughter) showed me this swimsuit top she liked. It was a twisted bandeau top, one side with a pattern and one side a solid color....it was $30 just for the top!!!! She said "it's ONLY $30!" If you don't know by now, I'm insanely fruggle! I don't pay $30 for ANYTHING. Especially a swimsuit top. So, I told her instead of buying it I'll make one and go even further and make her an entire swimsuit for under $10...then I had to make myself one. Not to brag, but they came out pretty awesome!


Materials:

1 1/2- 2 yards of Nylon Fabric (It's on sale right now at Hancock's! 40% OFF)
1/2 yard of Swimsuit Linning (on sale too!)
Corresponding Thread


First we'll start with the top. You need to take your bust measurement and make sure it's not too tight! You're going to make two strips of fabric to make the bandeau top. With your bust measurement, subtract 3 inches and that's how long each strip will be. To get the width, measure from where you want your swimsuit top to start on top to where you want it to end under your bust and double that measurement. Once your two long strips are cutout, fold in half lengthwise with right sides together, pin, zigzag stitch or serge, press your seams and turn right-side out.


 Now that you have two long strips, lay one out flat and fold it in half end to end. Take your other strip and pinch the center and lay it inside the fold of your other strip, going top to bottom.


Then take the ends of each strip and pull them out to their corresponding sides. 


The easiest way I found to hem the back of your swimsuit is first to zigzag stitch or serge each end closed (on mine, the black side closed then the stripped side closed) then put right sides of your swimsuit top together and serge or zigzag stitch your seam closed and press.


To make your swimsuit bottoms, find some bottoms you like and make a pattern from them. Make sure you make the crotch seams the same length on front and back! I made a mistake with that and had to add more fabric to make the seam correct. And make sure you leave room for seam allowance. Cut out your swimsuit fabric and your lining fabric.

To sew your bottoms together, sew the side seams and crotch on your swimsuit fabric and lining fabric with right sides together. To attach your lining to your swimsuit fabric, have your swimsuit fabric right-side out and your lining inside out. Slip your lining into your swimsuit bottoms, matching up your side seams and crotch seams. Pin along all sides so the lining and swimsuit bottoms will be pinned together. Then zigzag stitch or serge together.


Now that the swimsuit bottom and lining are together, turn it inside out and press over for your hem, pin then zigzag stitch closed.

Bam! Bam! Shazam! You've got a cute new swimsuit for a fraction of the cost you would buy one of these for! Hope you enjoyed this week's tutorial. Feel free to share and follow me on Pinterest where I post all the blogs @ www.pinterest.com/makeitlovediy. 


Friday, May 17, 2013

Sweet Spring


This week, we're making an entire outfit! A loose polyester tank, a bandeau top and a "skater" skirt. I haven't been able to wear anything (out in public) that shows my belly since I had the sweet baby. Stretch marks galore! I want to participate in this bandeau with a sheer flowy top trend, so I had to make a high-waisted skirt to do so...and this was the outcome...


If you shop for your fabric right, you can find some great deals. I don't like making clothes for the same price I can buy them for. It makes all the time completely pointless, so I always buy sale fabrics or take coupons in. I ended up spending $10 for this outfit. Including the fabric for the top, bandeau, skirt and zipper. For the top, I used Hancock's "value fabric" polyester. Only $4.95/yard! I only bought 1/2 yard, but next time will get a yard. The bandeau top, I used a stretch lace. And for the skirt, I found some amazing cotton floral fabric at 40% off! I'm a huge bargain shopper, but I have never been able to go buy 3 pieces for only $10 so I was super excited to make this outfit.

First we'll start with the top:

Materials

1/2-1 yard of loose fabric
Double fold biased tape (optional)


To make the pattern for your shirt, find a shirt you like the fit of but make sure it's loose and has a wide enough neckline that it will fit over your head without stretching. Turn it inside out and mark your pattern, leaving room for seam allowance. Cut your pieces out. Cutout a 4x4 piece of the fabric that we'll use for the pocket on the chest.

Once cutout, put your shirt with right-sides together and zig-zag stitch or serge your side seams and shoulder seams then press. Now you can either use double fold biased tape for your hem or fold over your hem 1/4" and press then another 1/4" and press, pin and stitch. (I've learned that if you serge the edges or put a zig-zag stitch around your edges, it will help with hemming them. It gives the fabric a little more weight and helps you keep an even hem.)


Now to just add your pocket. With your 4x4 square, either hem the edges or use your biased tape. Put your shirt on and mark where you want your pocket. Pin your pocket down and don't forget to leave the top open! I really wish I would have just used my poly fabric for the pocket. I think the print is a little too much with the outfit. Anyways, done with a simple little top!


Now to the Bandeau Top!

Materials

1/4 yard of fabric (something very stretchy)
1/4" elastic

Bandeau tops are so easy to make, that you want to but one again. First, take your chest measurement and subtract 5" from it. We're taking inches off so it will fit snug. Then measure from where you want your bandeau to start and down to where you want it to end and add seam allowance. (With the stretch lace, I didn't end up hemming the top and bottom.) Once cutout, put right sides together and sew up your side seams and press. Then sew down your hem. Now, get out your elastic. I cutoff enough elastic for the length of my top, but you won't need that much. Make sure your top is turned inside out and mark a straight line down the center front. Start sewing your elastic with a zigzag stitch if you're using something like lace, or a straight stitch. Pull the elastic pretty hard while your sewing it down to create the ruching. Once it's sewn down, cut the excess off. Sewing the elastic down will create a sweatheart neckline.


Then to the Skater Skirt. The skater skirt is really just a full skirt like a pleated skirt but without all the pleating. You need plenty of fabric for it since we'll be cutting it on a fold.

First you need to make your template for your waist which will be a half circle. Measure your waist then add seam allowance for your zipper. Then figure out the diameter of the circle by dividing your measurement by 3.14. Make your half circle like this:


Decide how long you want your skirt and add room for seem allowance then take 2" off that measurement so we can add a waistband. Lay your fabric out, folded in half like it comes off the bolt. From one end, measure up how long you wanted your skirt then pin down your half circle on the fold. Then mark on the other side of the circle down the length you want your skirt and mark from the center of your half circle down the length you want your skirt. Now connect your marks then cutout and cut your waist hole out so it will make large half circle like this:


Then cutout your waistband. I always cut waistbands on the fold so I have less sewing to do. If you don't have any more fold, just cut 2 strips out the length of your waist measurement plus seam allowance and sew right-sides together at the top and sides.


Lay your skirt out and cut straight down one side of your skirt. Then lay it out and attach your waistband with right sides together and sew then press. Once your waistband is sewn on, install your zipper according to manufacturer's instructions then finish sewing your seam together.

Lastly, all you need to do is hem your skirt and you're done with your outfit!

Hope you enjoyed the tutorial this week and thanks for checking it out! You can also follow me on Pinterest at www.pinterest.com/makeitlovediy


Tuesday, April 23, 2013

The "Beach Hair" Spray


It's almost time for summer and "beach hair" is a must! I've always loved the way my hair curls after spending the day at the beach, but then you have to go wash it out asap! (Galveston isn't the cleanest water.) A few years ago, I started making some "beach curl" spray. I used to buy it, but when I realized all you need is an empty spray bottle, sea salt, conditioner and water; I started making it! It's so insanely inexpensive and gives you the perfect Beach look!


I use a 6oz spray bottle. Add about an ounce of conditioner, 2tbs of sea salt and fill your bottle up with warm water. Shake it up and spray all over your wet locks. You can let your hair air dry, or speed up the process and use a diffuser attachment (the one that looks like it has crazy spikes) on your blow dryer. Using the blow dryer, I've found gives a lot more volume to the top, which I LOVE! The bigger, the better!

I love using this spray because it gives my hair so much texture and volume! Hope you enjoy your new beach spray and get to rock some voluminous curls even when you're not at the beach. 

Your Favorite Romper


This week's tutorial: a Romper! Rompers are one of my favorite pieces of clothing. They are so comfortable and a perfect piece for summer! I wanted to make myself a romper because every one I find that I like is way too short or just doesn't fit right.


For my birthday, my awesome Grandma bought me a dress form and then wanted me to pick out some fabric. My Grandma loves batiks fabric and we saw this one at Hancock's. I'm usually not a huge fan of them, but they have some awesome tribal prints and tie-dye ones now and they're 40% OFF this month! Batiks are 100% cotton and pre-washed. If you're using a fabric like this, you need to have a low neckline so you can get into your romper without tearing it. If you want a higher neckline, try using a knit or cotton t-shirt that has some stretch to it or find a poly blend with spandex in it. 

Materials:

1 1/2- 2 yards of fabric
1/2" elastic- enough for your waist
Double fold biased tape


To make a romper, you want it loose. I did mine about 2x my measurements. The least I would do is 1 1/2x your measurements. To make your pattern, use an old tank top that you like. Make sure that the top you choose for your pattern has a low enough neckline that it will be able to slip on easily. Turn it inside out and trace the armholes and neckline then angle it out to the width that you need. Your top needs to be long enough to hit your waistline (or where you want your elastic) plus seam allowance. To make the shorts pattern, use a loose pair of shorts to trace out. Turn them inside out and fold them in half, tracing around them leaving room for seam allowance. Extend the bottom of your shorts down to the length you want plus seam allowance. Then extend the top of your shorts up high enough to reach your waistline plus seam allowance and at least another 1" for your elastic casing. Extend the waistline of your shorts out to 1/2 the measurement of your bodice pattern. Make sure you have enough room from your crotch to the top of your shorts to fit comfortably. If it's too short, you'll have a perma-wedge or even worse, camel toe!


Cut out your bodice front and back and your shorts. To cut out your shorts, have your fabric folded in half and cut the pattern out twice. If you want to add pockets, cut them out too. I cut out (4) 5x7 rectangles for the pockets.
Start with your bodice and put right-sides together and zig-zag stitch or serge your seams and press. 
To sew your shorts, start with the pockets. With each quarter of your shorts, mark where you want your pockets to start on the right-side of your fabric. Keep in mind the extra inch and seam allowance we added to the top of your shorts. I measured down 6" and marked to start the pockets. Pin the right-side of each piece of pocket to the right-side of your shorts. Zig-zag stitch and press your seams.


Now to sew your shorts together. Put right-sides together (front and back) of each side of your shorts. Lining up the pockets and side seams. Pin starting at the top of your shorts, down around your pockets and down the rest of your seam. Then pin the seam under the crotch of your shorts. Zig-zag stitch or serge and press your seams.


Now, this part is a little confusing...once you've sewn up each "leg" of your shorts, turn one right-side out and put it inside the other leg so right-sides are together. Line up your crotch and pin together. Zig-zag stitch or serge and press your seams.


Now that your bodice and shorts are sewn, we need to sew them together. With your shorts turned right-side-out and your bodice turned inside out, pull your bodice over your shorts so the waistlines are together. Pin your bodice about 1" below the waistline of your shorts and zig-zag stitch together. Once they're stitched together, fold the casing down to your shorts. Pin in place and zig-zag stitch down making sure to leave enough room in your casing to push your elastic through. 
 (I forgot to take a pic of this, so here's one from the Maxi Dress from last week of how to create your casing.)
Now to put in your elastic. Measure your elastic out to the measurement of your waist minus 1". Hook a safety pin through one end and feed it through your casing. Once all the way around, overlap your elastic by at least 1/2" and zig-zag stitch together. Then finish closing your casing.
Now keep your Romper inside out and hem your shorts. Fold over 1/4" and press and another 1/4" and press, pin and stitch closed.
Last step is to finish the bodice. Like I've said before, I hate hemming necklines and armholes. That's what we have the double fold biased tape for. I pinned the biased tape to the raw edges of my neckline (I started in the middle of my "v" neckline) and when it got to where the straps should be, I measured out how long I needed my straps and continued to the back middle. Then repeated for the other side of my neckline and the same for the armholes.
Now you've finished your romper! Hope you enjoyed this tutorial! Sometime in the future, I want to make a structured romper, but I've never done boning before so I'll probably have a few too many mistakes before I can perfect it. Fingers crossed it will work out!
I also wanted to talk about sergers. I've had a few questions about them, so I thought I would explain exactly what they are. A serger has 4 different threads in it that basically ties up your seams. Look on the inside of your shirt. The seams that you see are what a serger creates. Sergers also have little knives on them so they can cutoff any excess fabric while sewing your seam up. Sergers make sewing garments so much faster and looks a lot cleaner. You won't have any raw or fraying edges. Another plus about a serger is that you can change the hem. On my maxi dress, instead of hemming the bottom, I used a rolled hem on the serger. A rolled hem is smaller so that you can hem the bottoms of some garments without having to fold, press, fold, press and pin.
 I love my serger! Again, I have an awesome Grandma and she bought me my serger for my birthday last year. I was just expecting a peddle foot for an old serger and she surprised me with a Janome Harmony 9102d! Hancock's tends to put Janome sergers on sale fairly often and you can find something in your budget. The only down side to a serger is that if you make a mistake, you're screwed! If you have the knife up, it will cut any excess fabric off, which sometimes you might need back. If you have the knife pulled down so you're not using it, and you make a mistake, you still have to seam rip 4 threads! It takes forever! I was making a hi-lo dress one night and was so excited that I was almost done. Just needed to sew the skirt to the bodice...I sewed it on backwards and had to rip the serged seam out to turn the skirt the correct way.
Anyways, if you want to start sewing more often, I would highly suggest getting a serger. Even though it takes 4 threads to run it, the maxi-lock thread is only $3/each with something like 3,000 yards on it. You'll use it forever! And it will make sewing garments so much nicer. 

Y'all have a great week! I don't have in mind what's going to be posted next week...there are too many things I want to make and not enough time. It usually comes down to what fabric is on sale.

Tuesday, April 16, 2013

Maxi Dress


Time to make a Maxi Dress! Once you see how easy these dresses are to make, you won't want to buy one again. I like maxi dresses because of their versatility. You can dress them down and be casual or dress them up. Good for any occasion! 
I wanted a super flowy maxi dress and found a great polyester fabric at Hancock's. Even better it was only $4.95 and I used a 40% off coupon! Since polyesters are synthetic, they don't breath much. You can find a cotton or knit that's a bit more breathable but with how flowy this dress is, it won't be too horrible in the summer heat.


Materials:

2-3 yards of fabric- depending how tall your are
1/2" elastic- enough for your waist
Flexi-Lace Hem Tape (optional)-used this for my straps


To start cutting out your pattern, you need to start with the skirt. If you have a maxi dress or skirt, measure the bottom to see how wide you need the skirt. You want to make sure it won't be too constricting. The first Maxi that I made, wasn't wide enough for the bottom and you can't walk great in it! I cut both panels for my skirt 27 1/2" wide. Measure from where you want your skirt to start down to the floor and add 2". Cut out your skirt. It should be 2 long rectangles.

To make the bodice, I made a pattern out of an old loose tank top. You need something that has straps to make the pattern. Turn your tank inside-out and trace your shirt leaving room for seam allowance. (As you can see, I usually make my patterns out of newspaper or tissue paper.) Measure out how long you want your bodice and add room for seam allowance. The bottom of your bodice needs to be as wide as your skirt so it will sew together properly. Since my original pattern wasn't as wide as my skirt, I had to expand it out to make it 27 1/2". I didn't want to expand the underarm because I wanted it to fit normally and be flowy towards the bottom of the bodice. There's a pic below to show you how I expanded it. I don't like hemming my bodice, so I always cut a lining out too. So, you'll have 4 pieces for your bodice.


 To sew your bodice, first start with the front of your dress and the lining. Pin right sides together and zig-zag stitch the sides together, the armholes and the neckline. Keeping the opening between armholes and neckline for your straps. Do the same with your back bodice and lining. Notch around your armholes and neckline, turn inside out and press.

Now that your lining is sewn in, put your dress bodice with right sides together, pin along the side seam and zig-zag stitch or serge and press your seams.

For my straps, I used a Flexi-Lace Hem Tape that I found at the fabric store. You can use whatever you would like. (I just really hate making biased tape to use as straps. It takes FOREVER!) Measure and cut how long you want your straps and add room for seam allowance. Hook a safety pin to the top of your strap and push it down, through one of your strap openings on the front bodice (between your armhole and neckline). Turn it inside out so you can see your strap coming through the inside. Pin your strap in place like this...


 Pin your strap the same way on the other opening of your front bodice and serge or zig-zag stitch closed. Turn right side out again. With safety pin attached to the other end of one of the straps, push down through your strap opening. Make sure your strap isn't twisted! Turn your back bodice inside out again so you can properly pin in place. Do this for the other strap. Pin and zig-zag stitch or serge closed.  Turn right side out and press your bodice.


Now to the skirt...With right sides together, pin, zig-zag stitch or serge your side seams and press. 

To attach your bodice to your skirt, turn your skirt right-side-out and your bodice inside-out. Fit your bodice over your skirt, so both waist lines are together. Since we're going to put elastic in, we have to make a casing for it. You added 2" to your skirt length for seam allowance and for the casing. Pull your bodice down your skirt enough that there's about and inch of your skirt waistline sticking out from your bodice. Once you sew your bodice to your skirt, we'll use the extra 1" to make the casing. Match up your side seams, pin and zig-zag stitch your seam. 


To make the casing, press your 1" of your skirt up to your bodice. Pin all around, matching up side seams and zig-zag stitch around, leaving an opening at the end large enough to push your elastic through.


Your elastic needs to be your waist measurement minus 1". Put a safety pin through one end of your elastic and push it through your casing. Once you get it all the way around, overlap your elastic by 1" and zig-zag stitch closed. Stitch your casing closed.

For the last step, all you need to do is hem the bottom of your dress and you're done!

I also made a shorter dress to show you...


Materials needed:

1-2 yards of fabric
1/2" elastic- enough for your waist
Biased Tape (optional)


This dress is made basically the same way, with a few changes. I made this blue one out of a 100% cotton t-shirt material. (Only $2.50/yrd on sale!)It's super stretchy and very cool. Since it's a thicker fabric than the polyester, I didn't make a lining for it....but I did add pockets! Every dress should really have pockets! I love 'em!

To start this dress, I cut out the front and back bodice. I used a different bodice top pattern for this one but you still have to angel it out for how wide you need it. This dress is 2x the size of your measurement or wherever you want the elastic to fit. I didn't cut lining out for this dress since the fabric is so thick. Put right sides together and pin your side seams and shoulder seams. Sew or serge and press your seams.


Cut your skirt the same way for the maxi, but make it as short as you want it. Remember, it needs to be the same width as the bottom of your bodice and add room for seam allowance, enough room to make your elastic casing (at least 1") and your hem. Cut it into front and back pieces, so you'll have 2 pieces for your skirt.

 To make the pockets, I cut out (4) 5x7 rectangles of fabric. I wanted my pockets to start about 5" down, but have to add another 1" to account for the casing. So, mark 6" down on either side of each of your skirt pieces. Pin your 5" side of one piece of pocket to the right side of your skirt starting at the mark you made. Repeat pinning the pockets onto the right sides of your skirt. Once pinned, zig-zag stitch and press.


Once your pieces of pockets are sewn down, put your skirt pieces with right sides together, lining up your pockets and side seams. Pin, zig-zag stitch or serge down your skirt, around your pocket and back down the rest of your skirt and press your seams.


Put your bodice and skirt together, just like for the maxi. Turn your skirt right side out and turn your bodice inside out. Place your bodice over your skirt, lining your skirt up 1" below the top of your skirt. Pin and zig-zag stitch together. Press your seam and fold your casing down over your skirt. Pin and zig-zag stitch the casing, leaving an opening to thread your elastic through. 

Use a safety pin to hook onto one end of your elastic and feed it through your casing. Your elastic should be the measurement of your waist minus 1". Once your elastic is pushed through, overlap your ends by 1/2" and zig-zag stitch together. Sew your casing closed.

Hem the bottom of your skirt. And for this dress, I used double fold biased tape to put around the armholes and neckline (since I really hate hemming round necklines and armholes). It makes it soooooo much easier! Of course, you don't have to buy it, you can always make it but it takes way too much time for me. Pin the double fold biased tape around your neckline and armholes and top stitch it down. If you haven't used biased tape, the double fold opens up and you can put your neckline and armholes in the middle so if folds over on the front and the inside of your dress.

Now you have two great dresses for Spring and Summer! Hope you enjoyed the tutorial! Next week, I'll hopefully be putting up a tutorial for a romper. Go figure, I LOVE rompers! Every romper I find just doesn't fit right so I'll show you how I make them!

Have a great week!

Tuesday, April 2, 2013

Spring Time Pleated Mini Dress


I LOVE Spring time! It's finally here and some new Spring dresses need to be added into the wardrobe. I found an amazing dress I wanted, but really didn't want to pay $70+ for it, so I made it for only $15 and a little bit of time. Of course, with a few alterations. This is the perfect dress for Spring and Summer, fun and flirty! I found this awesome fabric at Hancock's (on sale of course) and fell in love! Florals are perfect for this time of year and very on trend.


What you need:

2 yards of fabric
(Enough for your dress and lining for your bodice)
12"-16" zipper


I really wanted to find a fabric with a little spandex in it, but couldn't find anything that I liked. This fabric is just 100% cotton. No stretch what so ever! Since I couldn't find a poly blend, I wanted to add some detail into the dress. I like princess seams, but haven't ever tried them out. So....I broke down and bought a dress pattern. I used Butterick pattern 5554. It's a dress pattern, but I chopped the pattern off to the length I wanted for a bodice. And go figure, I had to alter the pattern to make it fit right. Even though the measurements say it's supposed to fit, it never does!

Let's get started! Cut your pattern out and measure the length you want for your bodice and cut the rest of the pattern off. Make sure you leave enough room for seam allowance at the bottom of your bodice! You can always cut more fabric off, but can't add it back. Cut out your fabric using your patterns. I waited to cut out the lining, we'll save that for later. Cut your waist band out in front and back measurements using your waist measurement and adding room for seam allowance. I cut the waist band on a fold and made it 2" deep. Measure how long you want the length of your skit plus room for seam allowance. Since the skirt is pleated, we'll add a few inches to your waist measurement before we cut the skirt. In the front and back center of the skirt I wanted a box pleat, then 2 pleats on either side of it. We're accounting 2" per pleat. A box pleat is basically 2 pleats turned into each other. For your skirt, we're going to cut it out front and back. So take your waist measurement for the front, then back and add 12" plus room for seam allowance to each.

First, we're going to focus on the bodice. Sew your bodice front and back following the pattern instructions but stop before you sew the front and back together. Princess seams are a bit tricky, but keep trying. I had to take a break trying to figure it out.


  Once you've sewn both sides of the bodice, use each side as the pattern to cut out your lining. (The back should still be in 2 separate pieces that make the whole.) 


Now that you have your lining cut out, with right sides together  pin and zig-zag stitch the front and back of the lining and the front and back of your dress fabric  at the shoulder. Press your seams then match up your dress bodice and lining bodice with right sides together. Pin and zig-zag stitch around the armholes and up one side of the back, around the neckline and down the other back piece.  


To make the triangle cut-out in the back, match your back bodice pieces together. Measure out and mark where you want your triangle. I made sure my triangle started far enough down to cover my bra strap and went down to the bottom of my bodice. Cut out, pin along where you cut your back and zig-zag stitch closed. Turn bodice right side out by pulling the back of the bodice through the shoulders towards the front and press. 

Once your bodice is pressed, we'll close the back of the bodice. In the pattern, they put a zipper down the back of the dress but we're going to put a zipper down the side instead. Turn your back bodice with right sides together and match up your neckline down to the top of your triangle. Pin and serge or zig-zag stitch and press your seam. 


Get both of your waistbands (front and back) and with right sides together, pin waistbands onto your bodice. Make sure the folded edge of your waistbands will be along your bodice. That way it will create a clean edge if you did your triangle cut out like mine. You'll have the gap along your back waistband where your triangle is cut-out. Stitch/serge the waistband to your bodice and press your seams.


Now to the skirt! If you haven't done pleats before, no worries. It's not as hard as it seems but just in case I'm not able to explain it well, there's a picture below. With both sections of your skirt, you'll mark the top center. Mark 2" on either side of your center mark. Measure out the remainder of your fabric on each side and figure out how far apart your (2) 2" pleats need to be making sure you're leaving plenty of room on either side for seam allowance. 


I have a picture below that I'll refer to so I can explain a bit better of how to make the pleats. Each red line that I have marked below, you can fold down that line a few inches and press to make a crease. This will make it easier to match up your marks. One at a time, match each crease up with the corresponding mark going towards the center of your skirt and pin. Once all pleats are pinned, tack down the pleats at the top with a stitch.


With right sides together, pin your skirt panels to your waistband. Make sure your box pleat is centered in the front and back and your stitch that is tacking down the pleats won't be shown when you press your seam. Serge or zig-zag stitch your skirt to the waistband and press. 

Turn your dress inside out, so right sides are together and match up your side seams from the underarm all the way down the skirt. Pin and serge or zig-zag stitch. Press your seam. For the right side seam, install your zipper according to manufacturer's instructions. Once your zipper is installed, pin down the rest of the length of your skirt and serge or zig-zag stitch closed. Press your seam. 

Last step! All there is to do now is hem the bottom of your skirt. Have your dress turned inside out and press your skirt bottom up 1/4" then another 1/4", pin and stitch. 

Now you have your super cute Spring dress! I have a feeling I'll be making more of these! Hope this tutorial was useful to you and you're able to understand it! Explaining it is a lot harder than doing it.