This week's tutorial: a Romper! Rompers are one of my favorite pieces of clothing. They are so comfortable and a perfect piece for summer! I wanted to make myself a romper because every one I find that I like is way too short or just doesn't fit right.

For my birthday, my awesome Grandma bought me a dress form and then wanted me to pick out some fabric. My Grandma loves batiks fabric and we saw this one at Hancock's. I'm usually not a huge fan of them, but they have some awesome tribal prints and tie-dye ones now and they're 40% OFF this month! Batiks are 100% cotton and pre-washed. If you're using a fabric like this, you need to have a low neckline so you can get into your romper without tearing it. If you want a higher neckline, try using a knit or cotton t-shirt that has some stretch to it or find a poly blend with spandex in it.
Materials:
1 1/2- 2 yards of fabric
1/2" elastic- enough for your waist
Double fold biased tape
To make a romper, you want it loose. I did mine about 2x my measurements. The least I would do is 1 1/2x your measurements. To make your pattern, use an old tank top that you like. Make sure that the top you choose for your pattern has a low enough neckline that it will be able to slip on easily. Turn it inside out and trace the armholes and neckline then angle it out to the width that you need. Your top needs to be long enough to hit your waistline (or where you want your elastic) plus seam allowance. To make the shorts pattern, use a loose pair of shorts to trace out. Turn them inside out and fold them in half, tracing around them leaving room for seam allowance. Extend the bottom of your shorts down to the length you want plus seam allowance. Then extend the top of your shorts up high enough to reach your waistline plus seam allowance and at least another 1" for your elastic casing. Extend the waistline of your shorts out to 1/2 the measurement of your bodice pattern. Make sure you have enough room from your crotch to the top of your shorts to fit comfortably. If it's too short, you'll have a perma-wedge or even worse, camel toe!

Cut out your bodice front and back and your shorts. To cut out your shorts, have your fabric folded in half and cut the pattern out twice. If you want to add pockets, cut them out too. I cut out (4) 5x7 rectangles for the pockets.
Start with your bodice and put right-sides together and zig-zag stitch or serge your seams and press.
To sew your shorts, start with the pockets. With each quarter of your shorts, mark where you want your pockets to start on the right-side of your fabric. Keep in mind the extra inch and seam allowance we added to the top of your shorts. I measured down 6" and marked to start the pockets. Pin the right-side of each piece of pocket to the right-side of your shorts. Zig-zag stitch and press your seams.

Now to sew your shorts together. Put right-sides together (front and back) of each side of your shorts. Lining up the pockets and side seams. Pin starting at the top of your shorts, down around your pockets and down the rest of your seam. Then pin the seam under the crotch of your shorts. Zig-zag stitch or serge and press your seams.

Now, this part is a little confusing...once you've sewn up each "leg" of your shorts, turn one right-side out and put it inside the other leg so right-sides are together. Line up your crotch and pin together. Zig-zag stitch or serge and press your seams.

Now that your bodice and shorts are sewn, we need to sew them together. With your shorts turned right-side-out and your bodice turned inside out, pull your bodice over your shorts so the waistlines are together. Pin your bodice about 1" below the waistline of your shorts and zig-zag stitch together. Once they're stitched together, fold the casing down to your shorts. Pin in place and zig-zag stitch down making sure to leave enough room in your casing to push your elastic through.
.jpg)
(I forgot to take a pic of this, so here's one from the Maxi Dress from last week of how to create your casing.)
Now to put in your elastic. Measure your elastic out to the measurement of your waist minus 1". Hook a safety pin through one end and feed it through your casing. Once all the way around, overlap your elastic by at least 1/2" and zig-zag stitch together. Then finish closing your casing.
Now keep your Romper inside out and hem your shorts. Fold over 1/4" and press and another 1/4" and press, pin and stitch closed.
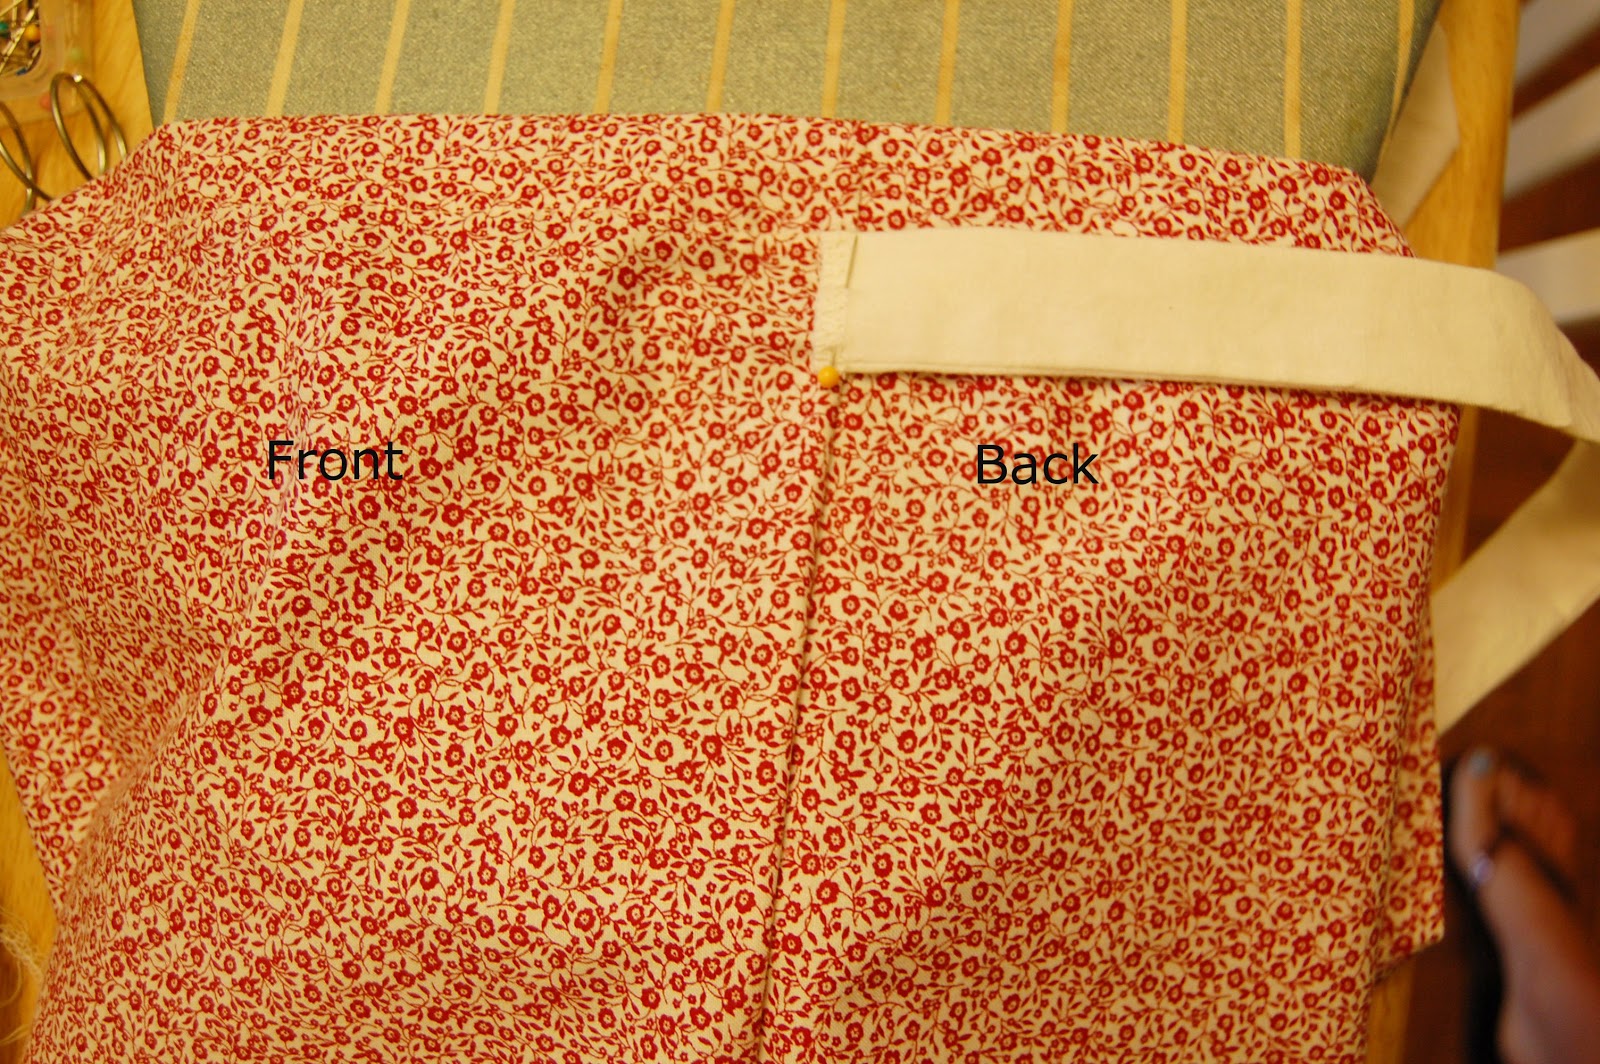
Last step is to finish the bodice. Like I've said before, I hate hemming necklines and armholes. That's what we have the double fold biased tape for. I pinned the biased tape to the raw edges of my neckline (I started in the middle of my "v" neckline) and when it got to where the straps should be, I measured out how long I needed my straps and continued to the back middle. Then repeated for the other side of my neckline and the same for the armholes.
Now you've finished your romper! Hope you enjoyed this tutorial! Sometime in the future, I want to make a structured romper, but I've never done boning before so I'll probably have a few too many mistakes before I can perfect it. Fingers crossed it will work out!
I also wanted to talk about sergers. I've had a few questions about them, so I thought I would explain exactly what they are. A serger has 4 different threads in it that basically ties up your seams. Look on the inside of your shirt. The seams that you see are what a serger creates. Sergers also have little knives on them so they can cutoff any excess fabric while sewing your seam up. Sergers make sewing garments so much faster and looks a lot cleaner. You won't have any raw or fraying edges. Another plus about a serger is that you can change the hem. On my maxi dress, instead of hemming the bottom, I used a rolled hem on the serger. A rolled hem is smaller so that you can hem the bottoms of some garments without having to fold, press, fold, press and pin.
I love my serger! Again, I have an awesome Grandma and she bought me my serger for my birthday last year. I was just expecting a peddle foot for an old serger and she surprised me with a Janome Harmony 9102d! Hancock's tends to put Janome sergers on sale fairly often and you can find something in your budget. The only down side to a serger is that if you make a mistake, you're screwed! If you have the knife up, it will cut any excess fabric off, which sometimes you might need back. If you have the knife pulled down so you're not using it, and you make a mistake, you still have to seam rip 4 threads! It takes forever! I was making a hi-lo dress one night and was so excited that I was almost done. Just needed to sew the skirt to the bodice...I sewed it on backwards and had to rip the serged seam out to turn the skirt the correct way.
Anyways, if you want to start sewing more often, I would highly suggest getting a serger. Even though it takes 4 threads to run it, the maxi-lock thread is only $3/each with something like 3,000 yards on it. You'll use it forever! And it will make sewing garments so much nicer.
Y'all have a great week! I don't have in mind what's going to be posted next week...there are too many things I want to make and not enough time. It usually comes down to what fabric is on sale.
Y'all have a great week! I don't have in mind what's going to be posted next week...there are too many things I want to make and not enough time. It usually comes down to what fabric is on sale.